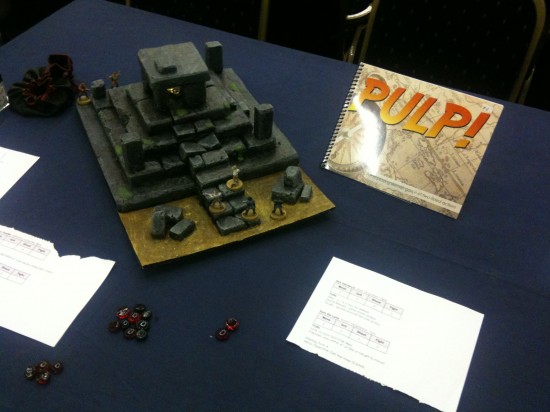
My surprise addition for UK Games Expo this year was a new demo set piece for Pulp! The Ziggurat of Doom is a neat little demoing accessory that caught a fair bit of attention at the event. I figured it would be useful for folks to know how I went about making it.
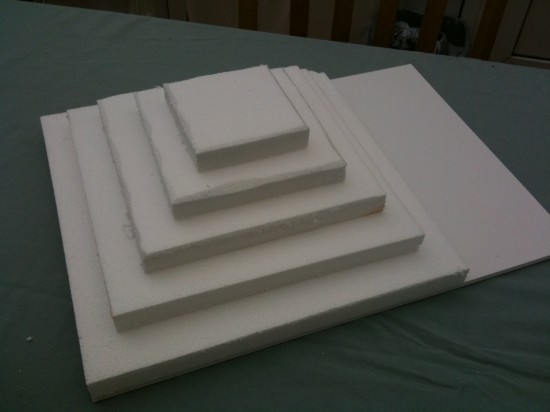
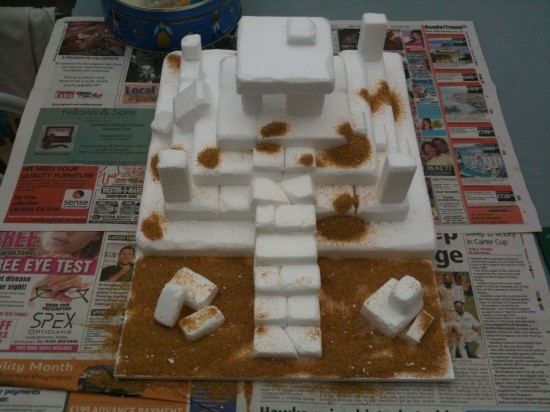
So the first step for the Ziggurat was collecting some suitable polystrene. The material used actually came from some furniture, which tends to come packed with nice thick board pieces. I cut these to size and invested in some foam board on which to mount the final piece. Each level has an inch or so width making it ideal for most miniatures. The initial board cuts ended up giving me a rough shape as below:
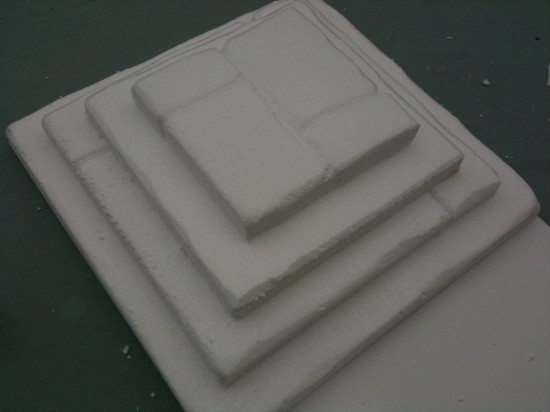
The basic shape was fine, so the next step was to bevel of the edges with glasspaper and then cut the regular shapes to be more broken and irregular with a craft knife. I cut each layer into sub-blocks, which will give the final thing more of a feel of big slabs of stone (and also all sit at 2 inch intervals as a game aid). At this stage I glued the main sections together with PVA glue.
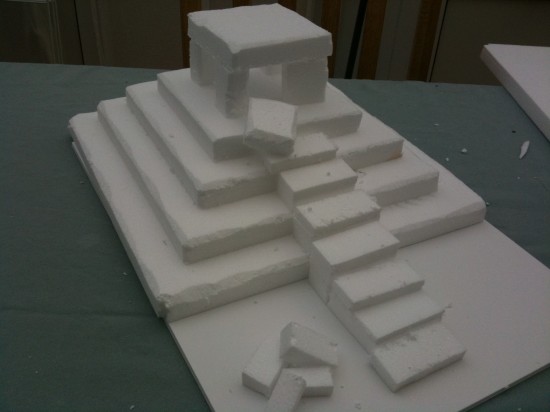
Next I built the temple-top, a nice feature for play and some valuable cover! I also added some basic rubble and the main steps. Most of these were made from offcuts from the original pyramid levels.
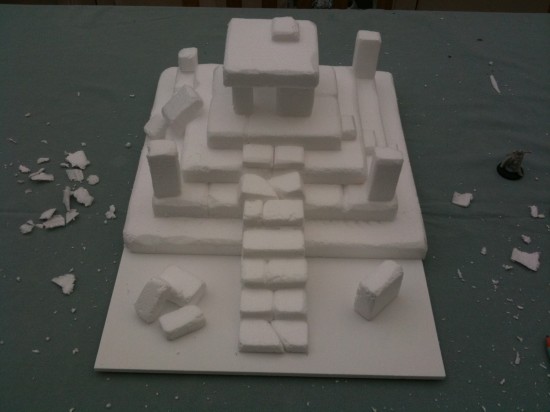
Next I took the steps and again split them into pieces. Generally by thirds or in half to give the feel of cracked pavement slabs, each individual piece was beveled with glasspaper. To give a proper feeling of collapse, I cut some chunks out of the main pyramid levels, so the steps could be falling inwards. Once again thinking about how the model could be used in game, I added the various broken pillars for additional cover.
The next stage was adding some glue spots to the model and dusting it with sand. I did this on the main temple for texture spots, some to be painted as moss, some rough stone or as actual sand. I used fairly hefty dollops of glue and left the sand until it was dry then poured it off.
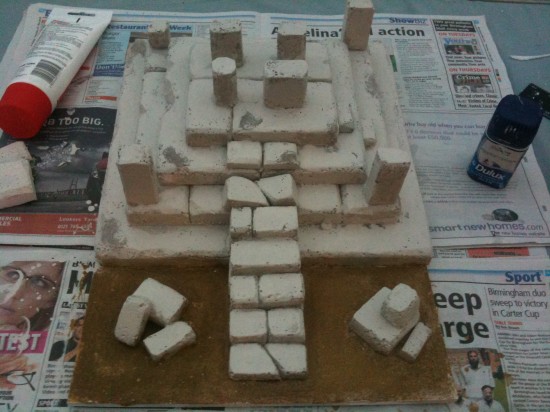
Next I gave the whole thing an undercoat with some household paint (a Dulux Once tester pot). This gives the model a strong base to paint on and hardens to make it more robust in play.
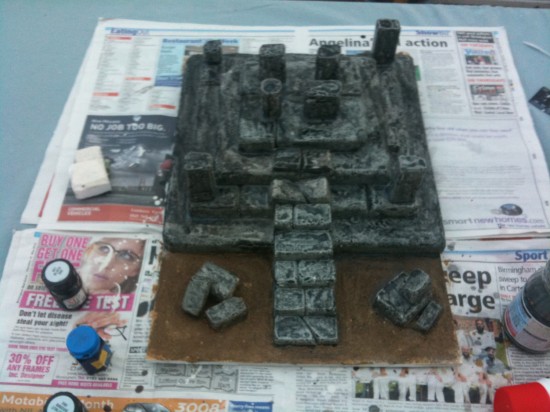
Nearly finished! The next stage was to wash the whole model with a mixture of black miniatures paint, black ink and PVA glue. This gloopy ink wash fills the cracks and adds a nice depth of shadow to the final thing.
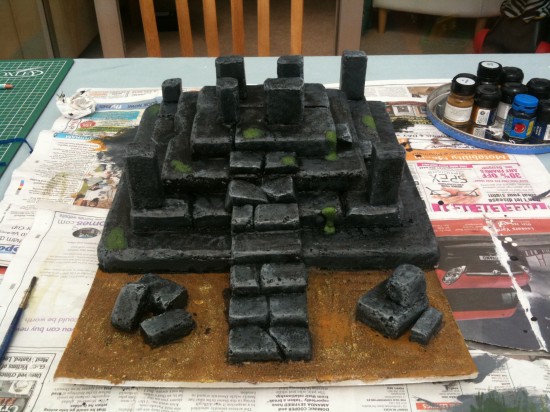
Next I layered on several coats of dry-brushing followed by ink/paint mixes. This gave the temple a nice stoney feel. I also painted some of the sand patches as mold using some lurid green paint.
Lovely! Oh, you may notice that the foam board has curled. This is because it should really be mounted on hardboard of some kind, but I didn't have any. Overall the entire build process took about a day of time (with extra gaps where I waited for paint to dry).
Here's the final piece in situ at the stall at Games Expo, complete with Pulp figures and a copy of the rulebook.
